Parameter Design of Various Parts of Precision Sheet Metal Parts
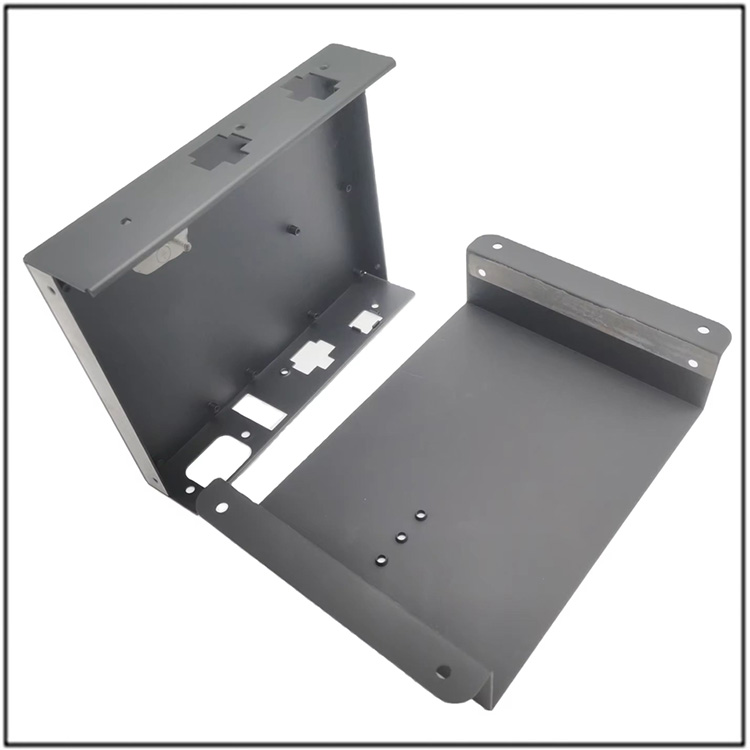
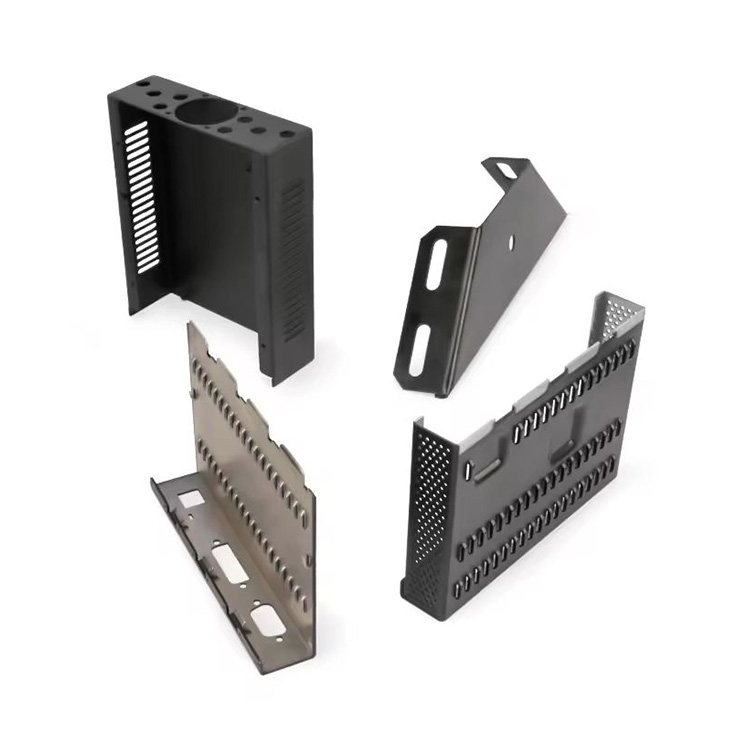
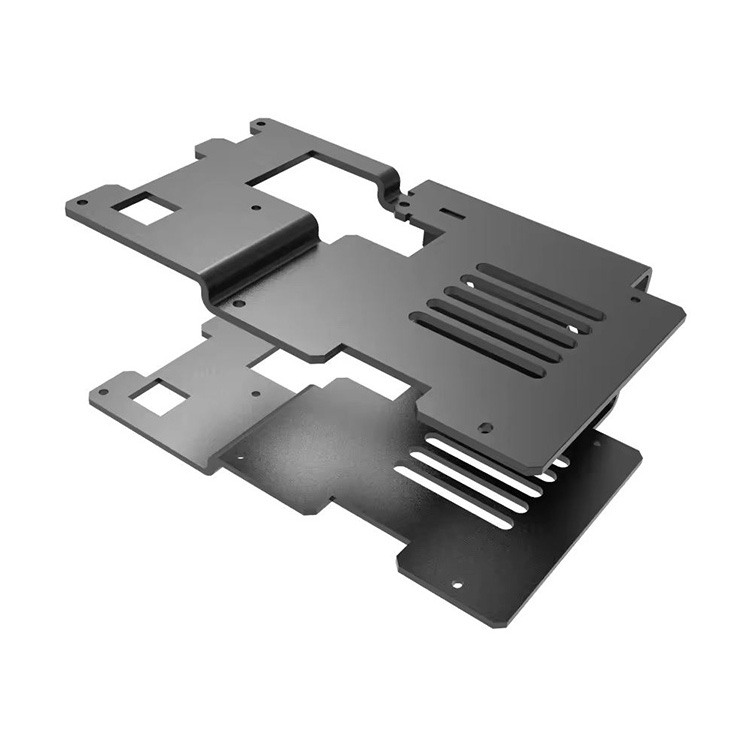
Precision sheet metal processing parts are a type of cross industry application component that processes flat sheet metal into specific states through customized design for different needs. In the manufacturing of various structural components, there are many parameter design issues, such as bending radius, hem, offset, hole and groove dimensions, notches and lugs, etc. Let's explore them together.
1.Bending radius
Various common bending radii can have a tolerance of plus or minus 1 degree on the bending angle, but our bending radius can reach 0.030 inches (0.762 millimeters), which is more cost-effective. The length of the component must be at least 4 times the thickness of the material. It is recommended to use the same radius at the bend, and the length must be at least 4 times the thickness of the material.
Sheet metal processing - bending radius
2.Bottom hem
Sheet metal processing forms open and closed folded edges, with tolerances depending on the radius of the hem, material thickness, and characteristics near the hem. We recommend a minimum inner diameter equal to the material thickness, and the folded edge return length should be 6 times the material thickness.
Sheet metal processing - hem
3.Offset amount
Offset is used to create Z-shaped profiles in sheet metal parts. We will offset the height tolerance by+/-0.012 inches (0.304 millimeters) from the top of the plate to the profile, with a recommended offset of 0.030 inches (0.762 millimeters).
Other standard options include: 0.060 inches (1.524 millimeters), 0.093 inches (2.362 millimeters), 0.125 inches (3.175 millimeters), 0.187 inches (4.749 millimeters), 0.213 inches (5.410 millimeters), 0.250 inches (6.35 millimeters), 0.281 inches (7.137 millimeters), and 0.312 inches (7.924 millimeters).
Sheet metal processing - offset
4.Holes and slots
The diameter of holes and grooves should be at least the thickness of the material. If the material is 0.036 inches (0.914 millimeters) or thinner, the distance between the hole and the edge of the material should be 0.062 inches (1.574 millimeters); If the thickness of the material is greater than 0.036 inches (0.914 millimeters), the distance between the hole and the edge of the material should be at least 0.125 inches (3.175 millimeters) to avoid deformation.
Sheet metal processing - holes and grooves

5.Gap and protrusion
The notch shall be at least the thickness of the material or 0.04 inches (1.016 millimeters), whichever is greater, and shall not exceed 5 times its width. The protruding ears shall be at least twice the thickness of the material or 0.126 inches (3.200 millimeters), whichever is greater, and the length shall not exceed 5 times its width.
Sheet metal processing - notches and protrusions
6.S hole
We provide processed and formed holes - tapered holes that allow screws, nails, or bolts to be inserted flush with the surface. We recommend using one of the following standard angles to measure the large diameter of the hole between 0.090 inches (2.286 millimeters) and 0.500 inches (12.7 millimeters): 82 °, 90 °, 100 °, and 120 °. The tolerance for the large diameter of the formed countersunk hole is+/-0.010 inches (0.254mm).


